Mastering Manual Mode for Better Control Over Exposure
Manual mode on a camera offers a way to take full control over the exposure of an image. Rather than relying on automated settings, the photographer determines each variable that influences how light reaches the sensor. This approach is not about rejecting automation, but about understanding the relationship between aperture, shutter speed, and ISO. By learning to adjust these three parameters independently, one can achieve a desired exposure in a wide range of lighting conditions while also influencing creative aspects such as depth of field and motion blur.
The exposure triangle is the conceptual framework used to describe how these three elements interact. A change in one variable requires a compensating adjustment in another to maintain the same overall exposure. For example, opening the aperture to let in more light can be balanced by a faster shutter speed or a lower ISO. Gaining confidence in manual mode involves developing an intuitive sense of these relationships and practicing the process of metering and adjusting. The following sections explore each component in detail and explain how they can be combined to produce a correctly exposed image.
It should be noted that achieving correct exposure is not an exact science with a single correct value. Different photographers may choose different combinations of aperture, shutter speed, and ISO depending on their creative intent and the specific demands of the scene. Manual mode simply provides the freedom to make those choices deliberately.
Aperture: Controlling Light and Depth of Field
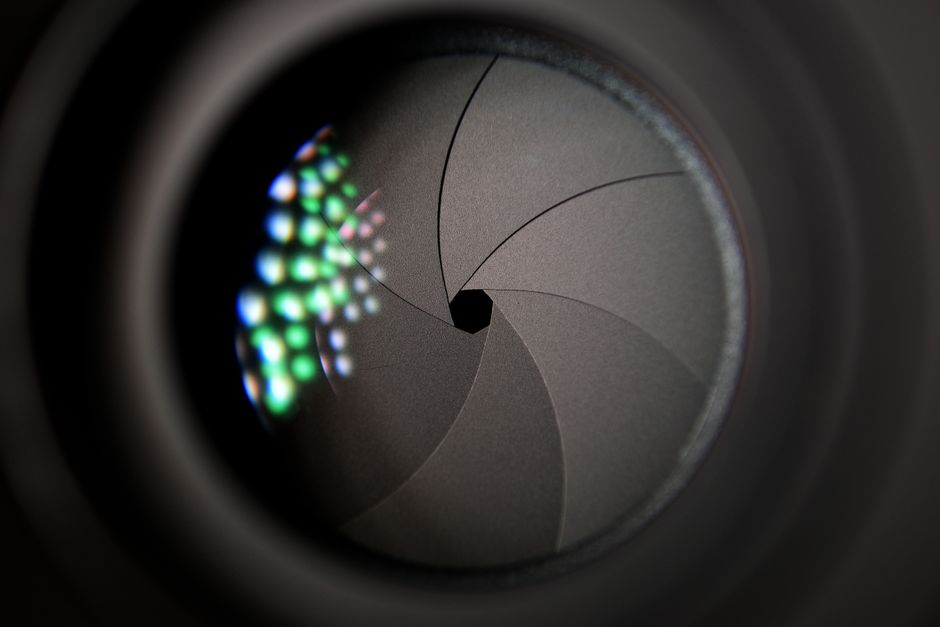
Aperture refers to the size of the opening in the lens through which light passes. It is measured in f-stops, such as f/2.8, f/5.6, or f/16. A lower f-number corresponds to a larger opening, allowing more light to reach the sensor. Conversely, a higher f-number reduces the opening and restricts light. In manual mode, the photographer selects the aperture based on two primary considerations: exposure and depth of field.
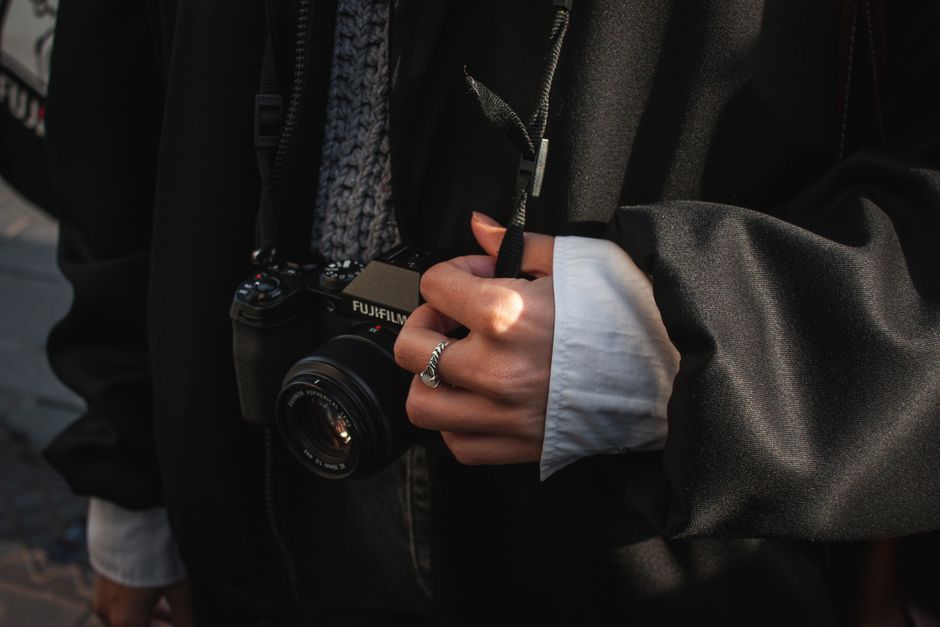
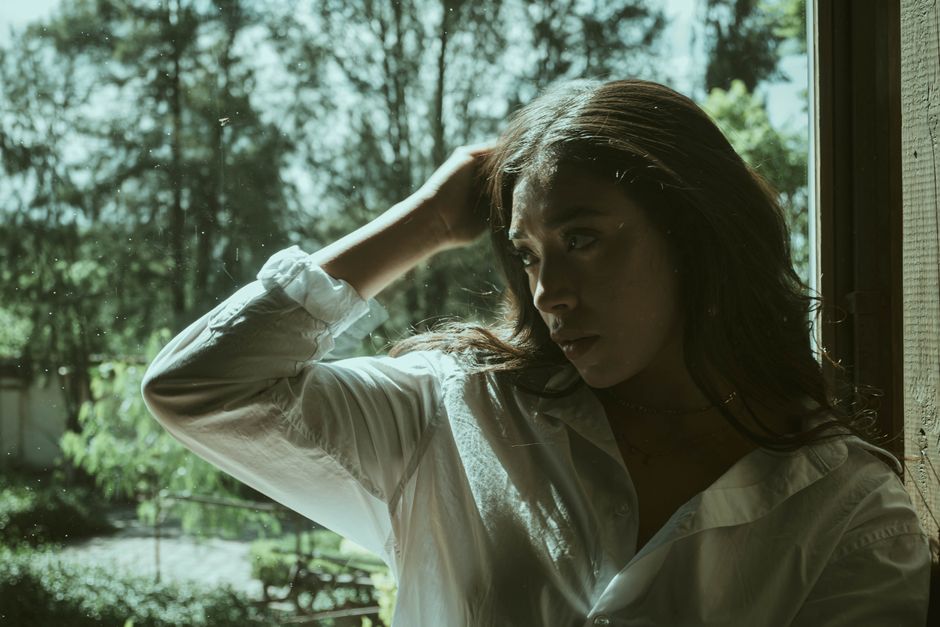
Depth of field describes the range of distance within a scene that appears acceptably sharp. A wide aperture (small f-number) produces a shallow depth of field, isolating a subject from the background. This is often used in portrait photography to create a soft blur behind the person. A narrow aperture (large f-number) increases depth of field, keeping more of the scene in focus from foreground to background, which is common in landscape photography. The choice of aperture thus has both technical and artistic implications.
When setting the aperture manually, it is helpful to consider the amount of light available. In dim conditions, a wider aperture may be necessary to allow enough light for a reasonable shutter speed. In bright conditions, a narrower aperture can help avoid overexposure while also providing greater depth of field. The camera’s built-in light meter provides feedback on whether the current combination of settings will produce a balanced exposure, but the final decision rests with the photographer.
Shutter Speed: Freezing or Blurring Motion
Shutter speed determines how long the camera’s shutter remains open, exposing the sensor to light. It is typically expressed in fractions of a second, such as 1/250 or 1/60, or as a full second for longer exposures. Faster shutter speeds capture less light but can freeze rapid movement, while slower speeds allow more light but may introduce motion blur from either the subject or camera shake.
Selecting an appropriate shutter speed in manual mode depends on the subject’s motion and the desired effect. For example, a fast shutter speed like 1/1000 might be used to freeze a bird in flight, while a slower speed like 1/30 could be used to convey motion in flowing water. The reciprocal rule suggests that to avoid blur from handholding the camera, the shutter speed should be roughly the inverse of the focal length. If using a 50mm lens, a speed of at least 1/50 is a common guideline, though this varies with technique and stabilization.
In low-light situations, a slower shutter speed may be unavoidable, and a tripod becomes useful to keep the camera steady. The relationship between shutter speed and the other two parameters is direct: a slower speed lets in more light, so the aperture can be narrower or ISO lower to compensate. Each adjustment affects not only exposure but also the final look of the image, making the process a balancing act.
ISO: Adjusting Sensitivity to Light
ISO measures the sensitivity of the camera’s sensor to light. A lower ISO value, such as 100 or 200, produces images with the least amount of digital noise and the highest dynamic range. Higher ISO values, like 1600 or 3200, increase sensitivity, allowing the camera to capture images in darker environments without requiring a slower shutter speed or wider aperture. However, higher ISO levels introduce grain or noise, which can reduce image quality.
In manual mode, ISO is often the last variable adjusted after aperture and shutter speed have been chosen for creative or practical reasons. For instance, if a specific aperture and shutter speed combination results in underexposure, raising the ISO can bring the exposure back to a balanced level. The decision to increase ISO involves weighing the trade-off between noise and the ability to capture the image without blur or a too shallow depth of field.
Modern cameras handle higher ISO values better than older models, but noise is still a factor. It is useful to know the native ISO range of the camera and to test how different settings appear. Some photographers prefer to keep ISO as low as possible and rely on aperture and shutter speed changes, while others accept moderate noise for the sake of flexibility. There is no universally correct choice; it depends on the situation and the acceptable level of image quality.
Balancing the Triangle Using a Light Meter
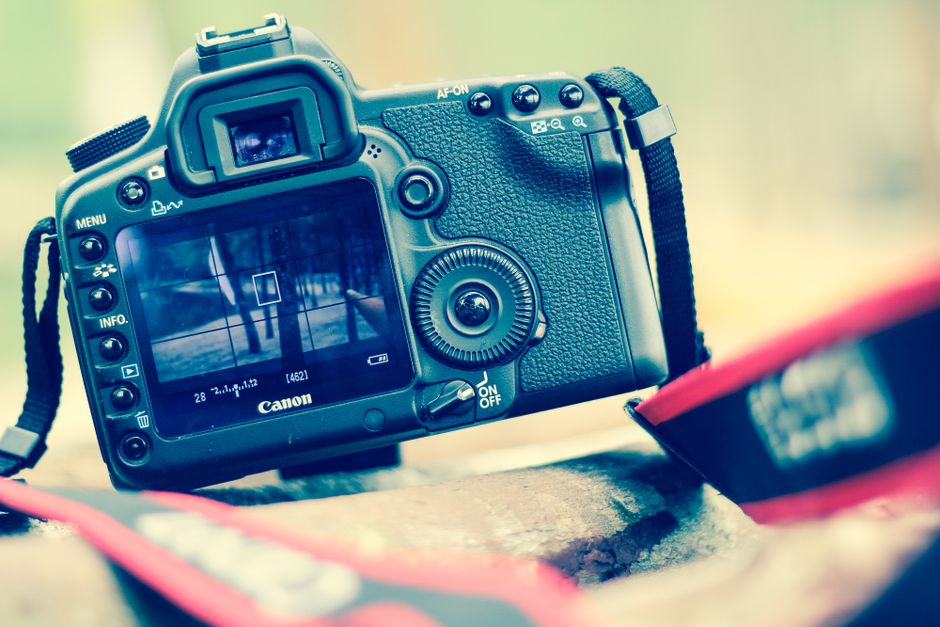
Most cameras include a built-in reflective light meter that measures the brightness of the scene and indicates whether the current exposure settings are likely to result in a properly exposed image. The meter is typically displayed as a scale with a zero in the center, positive values for overexposure, and negative values for underexposure. In manual mode, the photographer adjusts aperture, shutter speed, or ISO until the meter reads at or near zero.
Metering can be set to different modes, such as evaluative, center-weighted, or spot, each of which samples the light differently. Evaluative metering analyzes the entire frame, while spot metering measures a small central area. The choice of metering mode influences how the camera evaluates exposure, and the photographer may need to compensate if the subject is significantly brighter or darker than the background. Spot metering, for example, can be useful for a backlit subject.
The light meter is a reference tool, not an absolute authority. In some situations, a photographer might intentionally expose slightly above or below zero to achieve a specific effect, such as a high-key or low-key image. Understanding how to read the meter and interpret its feedback is a key skill in manual mode. Practice with different scenes helps develop the ability to anticipate which adjustments will bring the meter to the desired point without trial and error.
Approaching Different Lighting Conditions
Manual mode becomes particularly valuable when lighting conditions are challenging or inconsistent. In bright sunlight, a combination of a narrow aperture (e.g., f/11), a fast shutter speed (e.g., 1/500), and a low ISO (e.g., 100) can prevent overexposure. If the scene contains deep shadows and bright highlights, exposure may need to be biased toward one area, or techniques like exposure bracketing can be used to capture multiple frames for later blending.
In low-light environments, such as indoors or at dusk, the photographer may need to open the aperture fully, lower the shutter speed as much as possible without introducing blur, and raise the ISO to a level where noise is acceptable. If the subject is static, a tripod allows for longer shutter speeds without camera shake, enabling a lower ISO and narrower aperture. For moving subjects in low light, a wider aperture and higher ISO are often the only feasible choices.
Mixed lighting, where different parts of the scene have different color temperatures or brightness levels, requires careful metering and sometimes manual white balance adjustments. The photographer may choose to expose for the most important subject and let other areas fall into shadow or highlights. Manual mode allows these decisions to be made explicitly, rather than leaving them to the camera’s algorithms.
Refining the Process Through Practice
Mastering manual mode is a gradual process. It involves becoming familiar with how each adjustment affects the viewfinder or live preview, interpreting the light meter, and anticipating how changes in lighting conditions will require rebalancing the triangle. One approach is to start in a controlled environment, such as a well-lit room with a static subject, and systematically vary each parameter while observing the results.
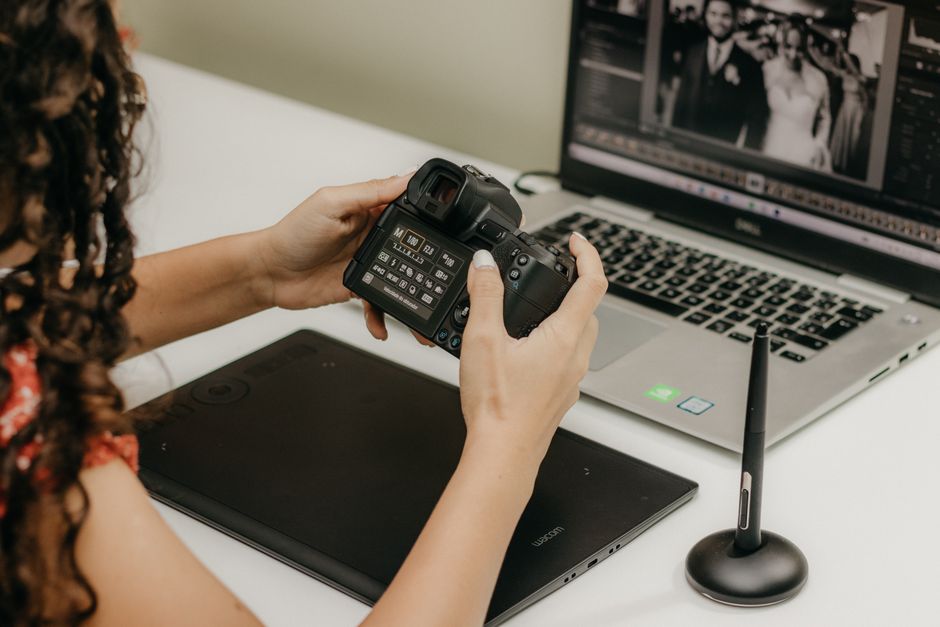
As confidence grows, moving to more dynamic scenes—such as a busy street or a landscape with changing clouds—can help develop the ability to adjust settings quickly. Reviewing images afterward, checking the histogram, and noting which combinations worked well are useful habits. Many cameras offer features like exposure simulation in live view, which provides a real-time preview of how the final image will look.
It is important to remember that manual mode is a tool for learning and creative control, not a requirement for every situation. Even experienced photographers sometimes use semi-automatic modes when speed is essential. The goal of practicing manual mode is to build an understanding of exposure so that the photographer can make informed decisions in any setting. Over time, the process becomes more intuitive, allowing for greater consistency and intentionality in the images captured.