Tips for Shooting Sharp Images Without a Tripod
Capturing sharp images without the support of a tripod can be a recurring challenge in photography, especially in low-light conditions or when working in environments where tripods are impractical. Camera shake is one of the primary causes of blurred photographs, and understanding how to minimize its impact is a valuable skill for any photographer. While a tripod provides a stable platform, there are several techniques that can help produce noticeably sharper handheld images when used consistently. These methods rely on a combination of physical technique, camera settings, and an understanding of how stabilization systems function.
At Aperture Blog, we focus on practical, process-oriented approaches that photographers can integrate into their workflow. The strategies discussed here are not guarantees of perfect sharpness in every situation, but they can serve as a foundation for achieving more consistent results. External factors such as subject movement, wind, or uneven terrain also play a role, and no single technique works in all circumstances. The following sections explore methods that can be adapted to different shooting scenarios.
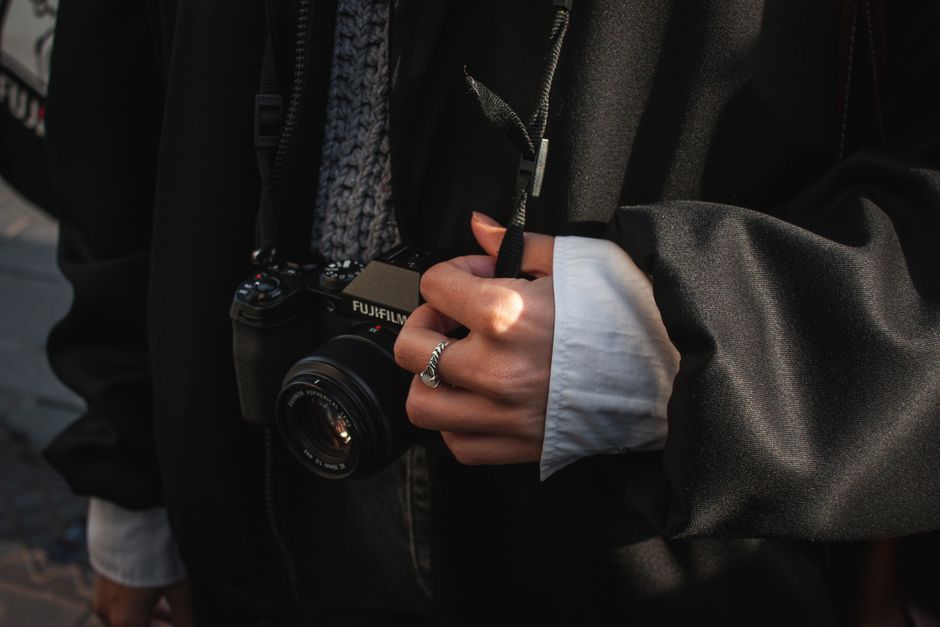
Proper Handholding Techniques
The way a camera is held can have a significant influence on the likelihood of capturing a sharp image. A stable grip and a balanced stance create a solid base that reduces the transmission of small movements from the photographer’s body to the camera. Many photographers find that placing the left hand under the lens, palm facing up, provides better support than gripping the lens from the side. This position allows the elbow to be tucked against the body, forming a natural brace. The right hand should hold the camera body gently, with the index finger resting lightly on the shutter release to avoid jerking the camera during the moment of exposure.
Breathing control is another element that can contribute to stability. Taking a slow, deep breath, then exhaling partially and holding the breath while pressing the shutter, can help minimize involuntary body motion. This technique is similar to what marksmen use and can be particularly effective when shooting at slower shutter speeds. Additionally, positioning the feet shoulder-width apart and keeping the body upright rather than leaning forward can further reduce sway. Leaning against a wall, a tree, or any solid object can provide additional stability when available.
Using Fast Shutter Speeds
Shutter speed is one of the most straightforward tools for reducing the appearance of camera shake. The general guideline often cited is the reciprocal rule, which suggests using a shutter speed equal to or faster than the reciprocal of the focal length when shooting with a full-frame camera. For example, a 50mm lens would call for a shutter speed of at least 1/50 second. However, this is a starting point rather than an absolute rule, as factors such as sensor resolution, lens weight, and individual hand steadiness can shift the required speed higher or lower.
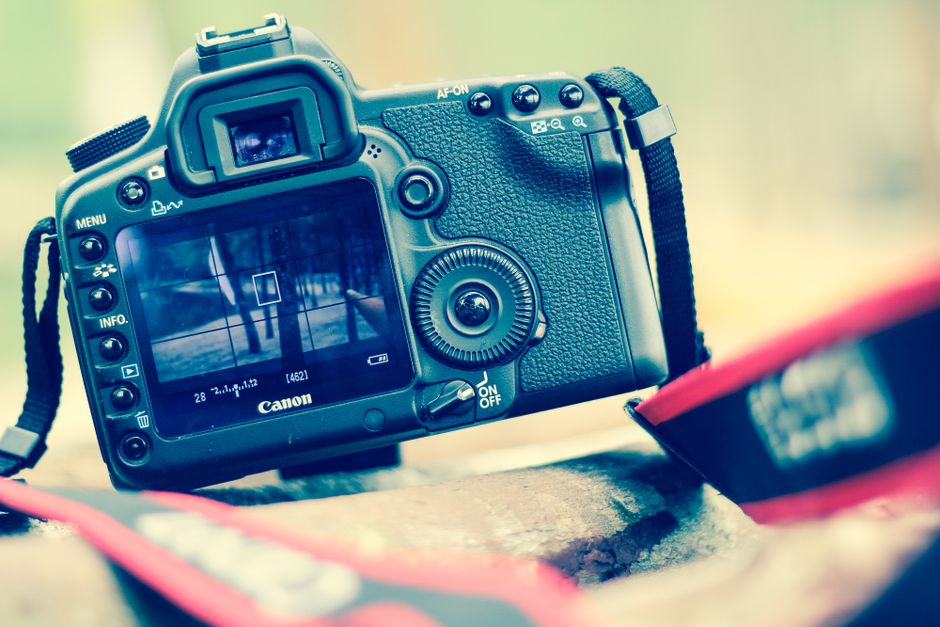
When working with higher megapixel sensors, the threshold may become more demanding, as finer details are more likely to reveal motion blur. In such cases, increasing the shutter speed by one or two stops beyond the reciprocal rule can be a helpful adjustment. It is also worth noting that fast shutter speeds may require compensating with a wider aperture or higher ISO setting to maintain proper exposure. Understanding the trade-offs between noise, depth of field, and motion blur is part of the process. Regularly checking images at 100% magnification on the camera’s LCD can provide immediate feedback on whether the chosen shutter speed is sufficient for the given conditions.
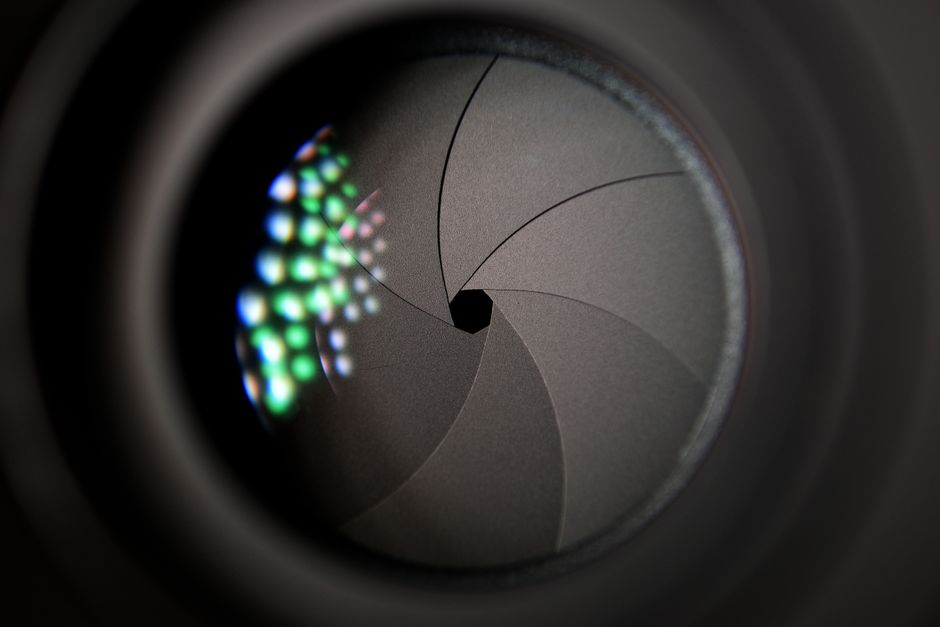
Image Stabilization Systems
Many modern cameras and lenses include image stabilization, either in the lens (Optical Image Stabilization) or in the camera body (In-Body Image Stabilization). These systems work by using gyroscopic sensors to detect motion and then shifting elements or the sensor to compensate for small movements. When used correctly, stabilization can allow photographers to capture sharp images at shutter speeds that would otherwise be impossible to handhold.
It is important to understand that stabilization is not designed to eliminate all types of motion. It is most effective at counteracting the high-frequency, small-amplitude vibrations caused by hand tremors and breathing. For larger, sweeping movements or intentional panning, stabilization may need to be turned off or set to a specific mode. Some systems provide a mode that only compensates for vertical movement, which can be useful when tracking a moving subject. Additionally, stabilization is not a substitute for a tripod during long exposures; it has practical limits, and beyond a certain point, the corrective mechanisms may introduce their own blur. Checking the manufacturer’s recommendations for maximum effective shutter speed with stabilization activated can offer a realistic expectation.
Additional Techniques for Stability
Beyond grip and settings, several practical strategies can further reduce blur. Using the camera’s burst mode or continuous shooting can increase the chance of capturing a sharper frame within a sequence. The first frame taken after pressing the shutter is often affected by the initial pressure of the finger, while subsequent frames may benefit from the momentum of the camera moving in a more predictable manner. Reviewing the series after shooting and selecting the sharpest image is a simple post-processing step that does not require any special software.
Environmental support can also be leveraged in creative ways. Placing the camera on a beanbag, a rolled-up jacket, or even a sturdy bag can provide a makeshift support surface. When photographing from a seated position, drawing the knees up and resting the elbows on them creates a stable triangle. Using a wall or a fence as a brace for the body or the lens can also help. These approaches are particularly useful when a tripod is not permitted or when speed is important. The key is to minimize any point of free movement between the photographer and the camera, turning the body into a more effective shock absorber.
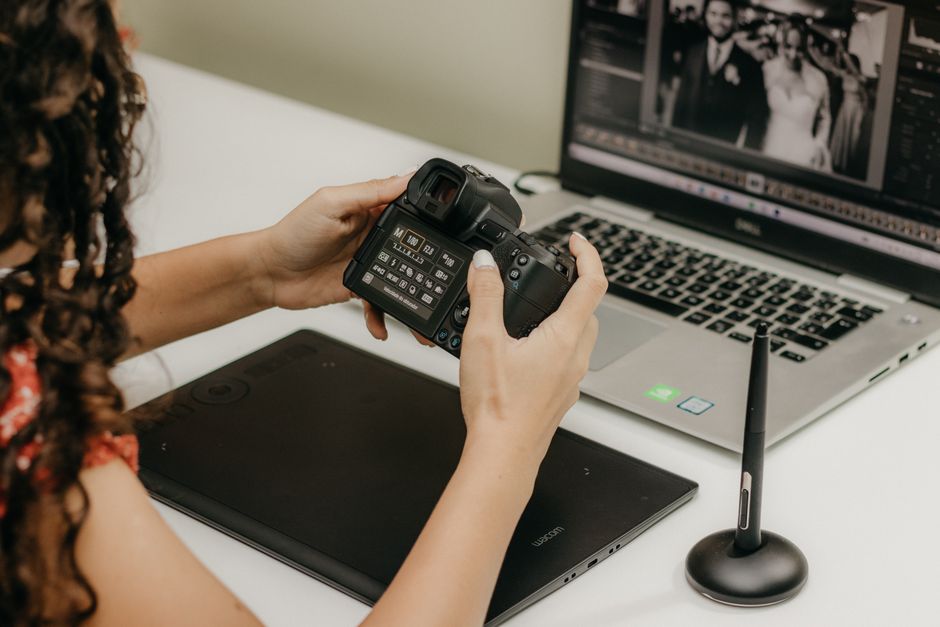
Post-Processing Considerations
While techniques applied during capture have the greatest impact on sharpness, post-processing can offer moderate improvements for images that are slightly soft. Sharpening tools in editing software work by increasing local contrast, which can create the illusion of sharper edges. However, this process cannot recover details that were lost due to significant motion blur, and excessive sharpening can introduce artifacts such as halos or increased noise. Many photographers apply output sharpening only after resizing an image for its intended display medium, whether on screen or in print.
Another approach in post-processing is the use of deconvolution or shake reduction filters, which attempt to reverse the effect of blur through computational analysis. These tools can be effective for minor blur patterns but often require careful tuning to avoid unnatural results. It is generally more productive to refine handholding technique and camera settings than to rely on software to fix what could have been addressed during the shot. The goal is to make sharpness a product of the capture process, with post-processing serving as a final polish rather than a primary corrective step.